Don’t wash that yeast down the drain just yet, there may be a lot of life left in those beauties! While commercial cultured yeasts are fairly cheap, why not get the most out of a pack and reuse the yeast?
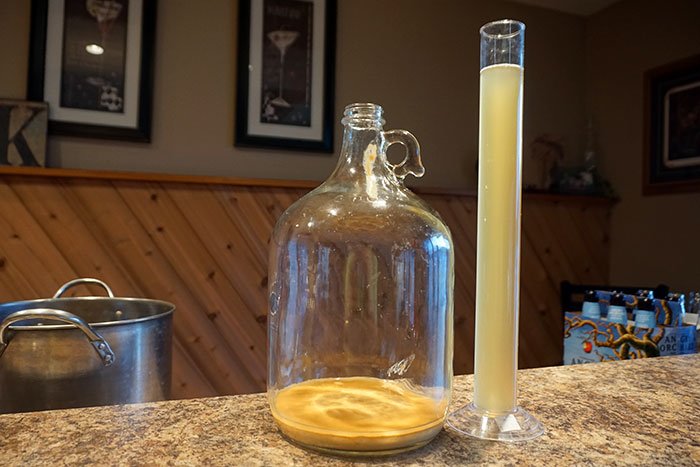
After racking a batch of cider into a secondary you will be left with the “lees”, or yeast, dead yeast, and sediment, in the bottom of the primary. While the yeast may be done eating the sugar from the current cider, the culture may have a lot of life left.
This is obvious if you have ever bottle carbonated a cider or beer by adding priming sugar. The additional sugar is eaten by the yeast to produce just enough CO2 to carbonate the cider, even though you cannot even see any yeast in the bottle. If you have ever over primed, you will know that the yeast is capable of consuming much, much more sugar, even to the point where the bottles explode.
So how will the mass of lees perform when introduced to more sweet cider? While it will depend on the strain of yeast and the health of the previous ferment, the yeast should continue to flourish for many more batches. The already active yeast slurry works similar to a yeast starter and gets to work immediately.
My Experience Reusing SafAle S-04 Yeast with Multiple Batches of Cider:
My experiment with reusing S-04 yeast was simple. I made a one gallon batch, racked the cider to a secondary and poured about half of the lees into a new clean and sanitized primary for the second batch. This method of reusing the lees without “washing” the yeast seems to be controversial in the home cider making space so of course, I had to try it for myself.
The First Ferment:
For the first use, I pitched the yeast to a cider with an original gravity of 1.044. The visible fermentation began to bubble the airlock within 8 hours. This cider began to ferment rapidly for about 4 days before calming down.
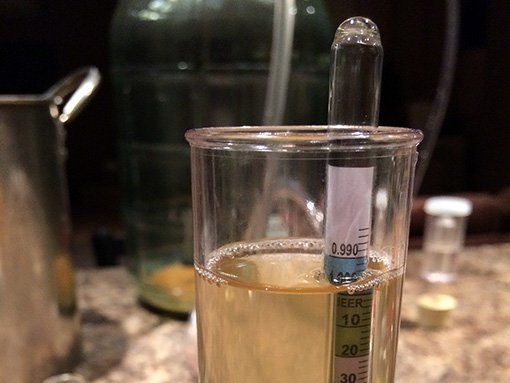
At this point, most of the yeast fell to the bottom of the carboy and the cider SG measured 1.010. The cider continued to ferment down to approximately 1.000 within two weeks.
The Second Ferment:
This identical cider began to ferment even faster, within a couple hours but because the yeast colony is already active and healthy, this is no surprise.
The yeast quickly fermented the cider down to the 1.010 SG range within 4 days. At this point, I noticed significantly more lees were settled at the bottom of the primary which indicates the yeast had multiplied.
Fermentation continued and after about two weeks, the cider reached a final gravity of approximately 1.000 as well. Success!
So fermentation was successful but how does it taste? I don’t think second cider is noticeably different from any of my other batches of cider using the same ingredients. It tastes great.
Third or Fourth Uses?
I have not gone as far as a third, fourth or beyond, but there are some factors to consider. If the yeast was used to make a high ABV cider the yeast may be highly stressed resulting in a weak culture. Also, Some yeast will die during the fermentation process and continuing fermentation or aging on high amounts of dead yeast may lead to undesirable flavors.
What about washing the yeast to remove the dead yeast and solids?
Washing yeast is a fairly simple process and will help separate the dead yeast from the live culture in the lees. Sanitized water is used to suspend the yeast while allowing everything else to settle. Once the dead yeast has settled, the water and live culture are poured off and stored/reused.
How to wash cider yeast
- Boil water to sanitize
- Sanitize a glass container and lid
- Rack cider into a secondary
- Pour the sanitized water into the fermentor and swirl to mix
- Allow the solution to settle
- Pour off the yeast and water while leaving the sediment behind
