In recent years, there has been a trend of adding fruit flavors to hard cider, and blood orange is a popular choice. Blood oranges are a type of orange with a deep red flesh and a sweet-tart flavor, which makes them perfect for adding a fruity twist to hard cider.
In this recipe I will be using both the juice and the peel of the blood orange. Using the peel to make blood orange hard cider is a great way to add a deeper, more complex flavor to the drink. The peel of a blood orange contains a high amount of citrus oil, which will impart a tangy flavor to the cider.
Five Essential Pieces of Equipment


How to make Blood Orange Hard Cider
If you are new to cider making, start by reviewing the basic cider making instructions found here. This standard cider will be our base.
Step 1: Prepare the Apple Cider
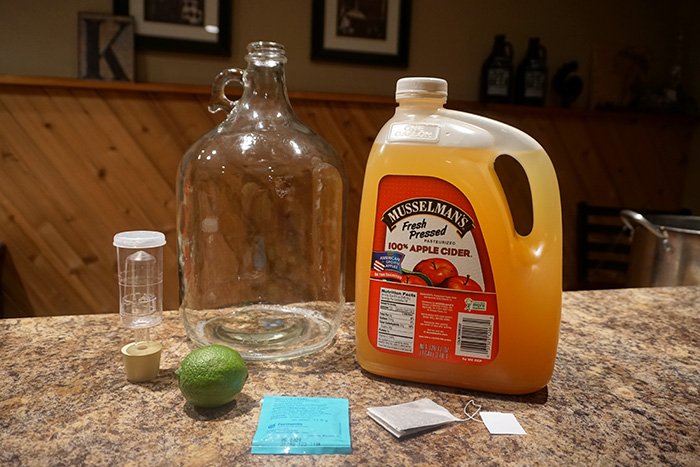
The first step in making blood orange hard cider is to prepare the base apple cider. You can either purchase store-bought apple cider or make your own by juicing apples. If you are using store-bought apple cider, make sure it is unfiltered and contains no preservatives. If you are using fresh apple cider, you may want to add Campden tablets to kill any bacteria or wild yeast.
Step 2: Check the Specific Gravity
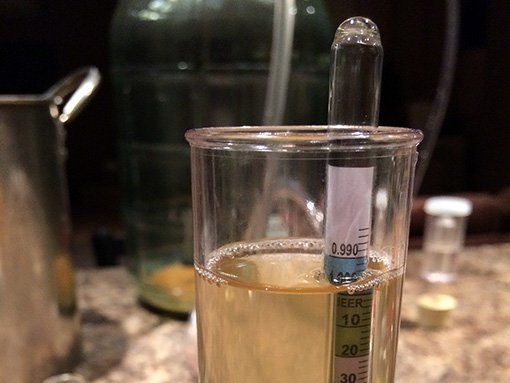
Use a hydrometer to measure the specific gravity of the mixture. The specific gravity will give you an idea of how much sugar is left in the mixture and how much alcohol has been produced. Record the reading so you can monitor the progress of the fermentation.
Step 3: Pitch the Yeast and Attach the Airlock
Attach an airlock to the top of the fermenting bucket. The airlock will allow carbon dioxide to escape from the mixture while preventing air from entering, which can oxidize the cider or allow bacteria in. Fill the airlock with water, sanitizing solution or even a neutral spirit such as vodka.
Step 4: Fermentation
Fermentation time will vary depending on the amount of sugar in the original juice and the temperature of the cider while fermenting.
I suggest placing the carboy in a dark and cool location that is around 68F. The colder the temperature, the slower the fermentation.
It’s important to note that fermenting at a higher temperature may finish the process faster but it will likely produce a harsher tasting alcohol.
Good things take time.
After about two weeks, you should notice that the airlock activity has stopped and less action is going on inside the carboy. This is one indication that fermentation has finished but it is best to measure the gravity again to make sure. This reading should be near 1.000 SG.
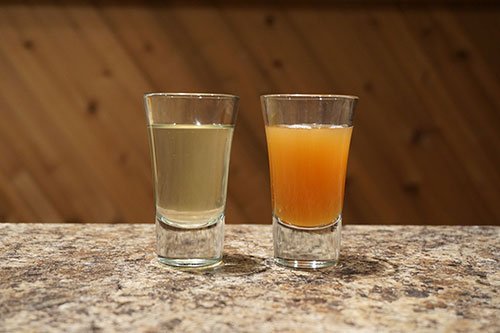
Once you are confident that the fermentation process has finished, cold crash for a couple of days to allow the solids to drop out before racking. This makes for clearer cider and reduces the amount of sediment in bottles or kegs.
Step 5: Rack to a Secondary Fermenter
Rack the cider into a secondary fermenter. This will separate the cider from the sediment and yeast so it can clear. Also, the secondary is where we will add the blood orange.
After 2 weeks, use a racking cane to transfer the hard cider to a clean carboy or glass jug. This will separate the cider from the yeast sediment that has settled at the bottom of the fermenting bucket.
Step 6: Add the Blood Oranges
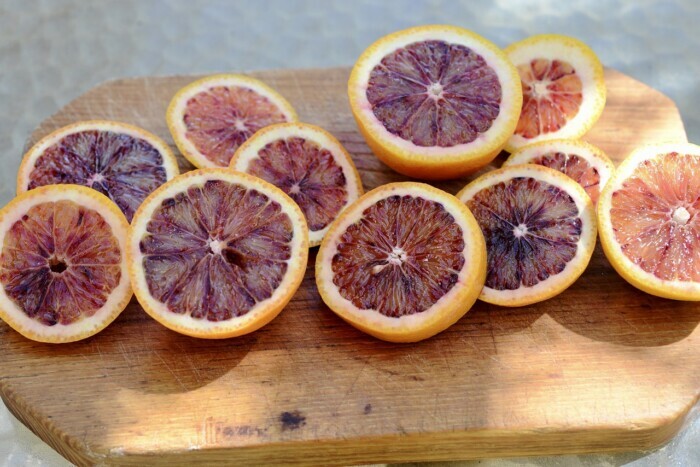
Next, you will need to prepare the oranges. Both the peel and the juice will be added to the cider to infuse flavor.
Start by peeling or zesting the oranges making sure to remove all of the white pith from the peel. If any of the white pith is left on the peel, it will make the cider bitter. Place the orange zest into a hop bag if desired. Then juice the oranges and add the juice and the zest to the fermenter. You can use a juicer or squeeze the oranges by hand. The amount of juice you get will depend on the size and juiciness of the oranges. Record this amount so you can recreate or modify the recipe in the future.
Step 10: Wait for Flavor
Age the cider for another week or two so the flavors can develop. I suggest sampling after one week to see how it is progressing. If more flavor is desired, leave the peels in longer. Generally after about two weeks the maximum flavor possible will be achieved and the peels can be removed. If you used a hop bag, the bag can simply be taken out. If you did not, you will have to rack the cider into another vessel if you are not going straight to a keg or bottles.
Finishing
With the Blood Orange Hard Cider complete it is time to decide whether to bulk age in the fermenter or package.
If you choose to go straight to packaging, this process will vary depending on your setup but you can follow a standard bottling procedure or rack it into a keg.
Also, if you plan to stabilize for still cider, now is the time to add campden and sorbate.
Notes:
The flavor and aroma that the peels contribute come from the oils in the peel. These oils are volatile however, so the flavor will change over time. This means if you plan to age the cider for a long period of time, the citrus flavor profile will change. It may not be a big issue, but something to keep in mind and document for future reference.
Blood Orange Hard Cider Recipe
Equipment
Materials
- 5 gal Apple Cider
- 1 pack Nottingham Ale Yeast
- 1 tsp Yeast Nutrient
- 2 Blood Oranges
Instructions
- Clean and sanitize all cider making equipment before starting.
- Pour the apple juice into the fermenting vessel.
- Take a hydrometer reading to measure the gravity and record.
- Add yeast nutrient if desired.
- Pour the yeast into the fermenter.
- Close the fermenter and install an airlock filled with sanitizer.
- Allow the cider to ferment in a cool and dark place for about two weeks.
- Rack to a secondary fermenter.
- Peel and remove all pith from the Blood Oranges.
- Place the Blood Orange peels into a hop bag and place the hop bag into the fermenter.
- Sample after a week, leave longer for stronger flavor.
- Cold crash, rack and bottle.

Campden was used early on during the blood orange cider recipe. However, at the end, Camden gets mentioned again. It says to stabilize the perry, add more campden. I’m a bit lost here as to what to do.
Use sulfites if you use fresh juice (fresh squeezed). Use at the end if you want flat cider which will kill the yeast.
So you used 2 oranges for 5 gal of cider?