You may only think about apples when it comes to cider but there is another wonderful juice out there that can make an amazing beverage, that is pear cider AKA perry.
Pears grow in similar fashion and have the same season which also means there is an abundance all at one time! Pears turn quickly so finding a way to preserve them is a must, so why not make a cider must?
If you have had a good perry, you know what I am talking about. If you haven’t tried one yet, I cant urge it enough, go find one!
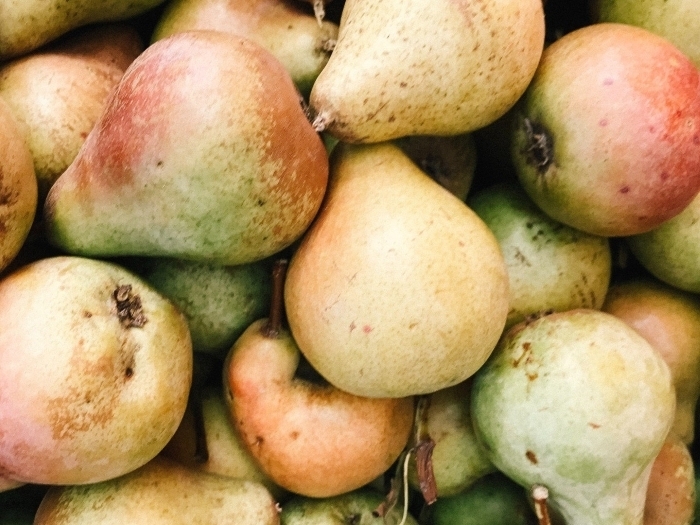
Cider Pears For Making Perry
Similar to apples where the eating variety are generally sweet desert type, most store bought pears are Bartlett that are, well sweet and good for eating. The issue is, once these varieties are fermented they generally produce a one-note drink. Not necessarily blowing away your taste buds…
So, I suggest you find an orchard that grows old varieties or an old pear tree that may be producing a vintage variety.
If your only option is to use Bartlett, consider adding another complementary fruit to add a flavor pop similar to how simple hard apple cider recipes are enhanced.
Either way, if you find yourself with an abundance of pears, I suggest pressing those delicious fruits to make a pear cider.
Only have access to pear juice? Not a problem, it will actually make the process a lot easier!
Ok, on to the recipe!
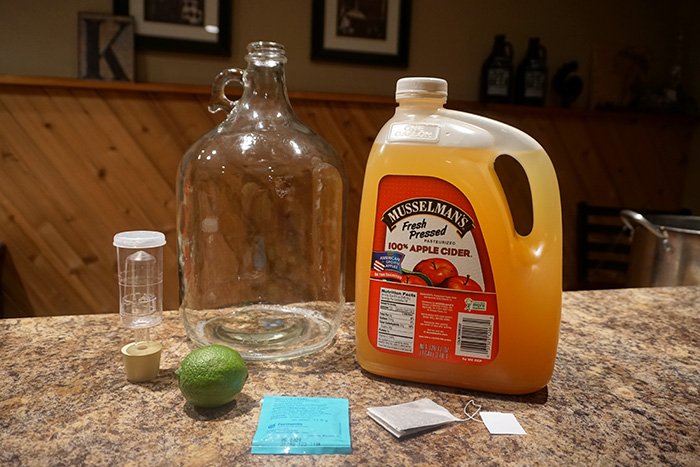
Five Essential Pieces of Equipment


Making Perry From Fresh Pears
First you will need to press the juice from the fruit if you have whole pears. I suggest using a scratter to chop the pears and a cider press to juice the fruit.
I have tried to use both centrifugal and masticating juicers for extracting apple and pear juice and both times the results were disappointing. The process is time consuming (nearly burning up the motor) and the juice yield is mediocre.
With the pears juiced into sweet cider, it can be poured into a clean and sanitized carboy.
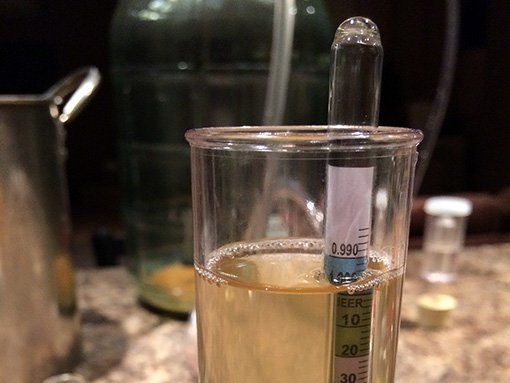
Now is a good time to take an original gravity, or specific gravity reading using a hydrometer. This reading measures the amount of sugar in the unfermented pear juice and used to calculate an expected ABV.
At this point, a lot of wild yeast that came from the pear peels is present in the juice so Campden can be added to stun the wild yeast. This gives the cultured yeast that you will add a head start allowing it to thrive and snuff out the wild yeast.
This process is done because wild yeast will produce unknown results, maybe good, maybe awful. After you go through all the work to juice the pears, the last thing you want is a stinky yeast taking over.
Pitch Yeast
With the pear juice ready to be made into hard pear cider, it is time to prep the must for a cultured yeast.
Yeast need nutrients to thrive and while these nutrients are present in the pear juice already, a boost will definitely help. Adding a yeast nutrient will ensure healthy yeast reproduction and help the yeast produce better tasting complimentary flavors and higher quality alcohol.
Finally, it is time to pitch the yeast and get the fermentation started!
Once the yeast is in the fermenter, attach an airlock to seal the vessel. The airlock allows the CO2 that is produced during fermentation to escape while keeping air, bugs, mold or any other contaminants out of the precious cider.
Fermentation
Fermentation time will vary depending on the amount of sugar in the original juice and the temperature of the cider while fermenting.
I suggest placing the carboy in a dark and cool location that is around 68F. The colder the temperature, the slower the fermentation.
It’s important to note that fermenting at a higher temperature may finish the process faster but it will likely produce a harsher tasting alcohol.
Good things take time.
After about two weeks, you should notice that the airlock activity has stopped and less action is going on inside the carboy. This is one indication that fermentation has finished but it is best to measure the gravity again to make sure. This reading should be near 1.000 SG.
Once you are confident that the fermentation process has finished, cold crash the perry for a couple of days to allow the solids to drop out before racking. This makes for clearer cider and reduces the amount of sediment in bottles or kegs.
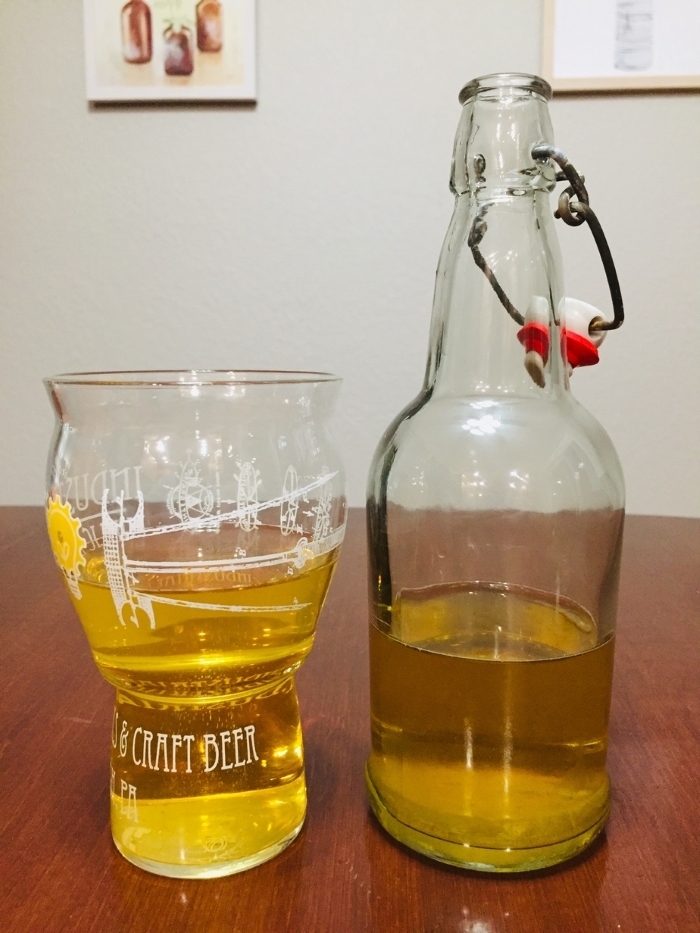
Finishing
With the pear juice now made into hard pear cider AKA perry, it is time to decide whether to bulk age in the fermenter or package. Bulk aging can encourage malolactic fermentation to occur which can add new flavors to the perry but isn’t a guarantee that it will happen. Malolactic fermentation can be a bit spontaneous..
If you choose to go straight to packaging, this process will vary depending on your setup but you can follow a standard bottling procedure or rack it into a keg.
Whichever process you decide to try, I suggest allowing the perry to age for at least a month or two before diving in.
With the perry finished, its time to rack it into a keg or into a bottling bucket for filling bottles. This is a great time to add any additional flavors or backsweeten if desired. Also, if you plan to stabilize the perry, now is the time to add campden and sorbate.
Note: Since I was going straight to keg and then into the fridge, I was not concerned about refermentation. If you choose to back sweeten and bottle, please read up on the standard bottling procedure.
Pear Hard Cider Recipe
Materials
- 5 gal Pear Juice
- 1 pack Nottingham Ale Yeast
- 5 tsp Yeast Nutrient
- 2.5 tsp Potassium Metabisulfite
- 2.5 tsp Potassium Sorbate
Instructions
- Clean and sanitize all cider making equipment before starting.
- Pour the pear juice into the fermenting vessel.
- Take a hydrometer reading to measure the gravity.
- Add the yeast nutrient if desired.
- Add the yeast to the fermenter.
- Install the airlock on the fermented and fill with sanitizer.
- Allow the cider to ferment in a cool and dark place for about two weeks.
- Cold crash, treat, rack and bottle.
Your recipe for Perry was interesting. This is my 3rd year at trying to make cider, and my first year trying to make a Perry. I managed to find a couple of pear trees that the owners were not to bothered with .but allowed me to take them. I read that after picking keep for up to 14 days what l did not know was the pear ripens from within and ended up with mush . It will not happen again. Just thought l would share that with you.